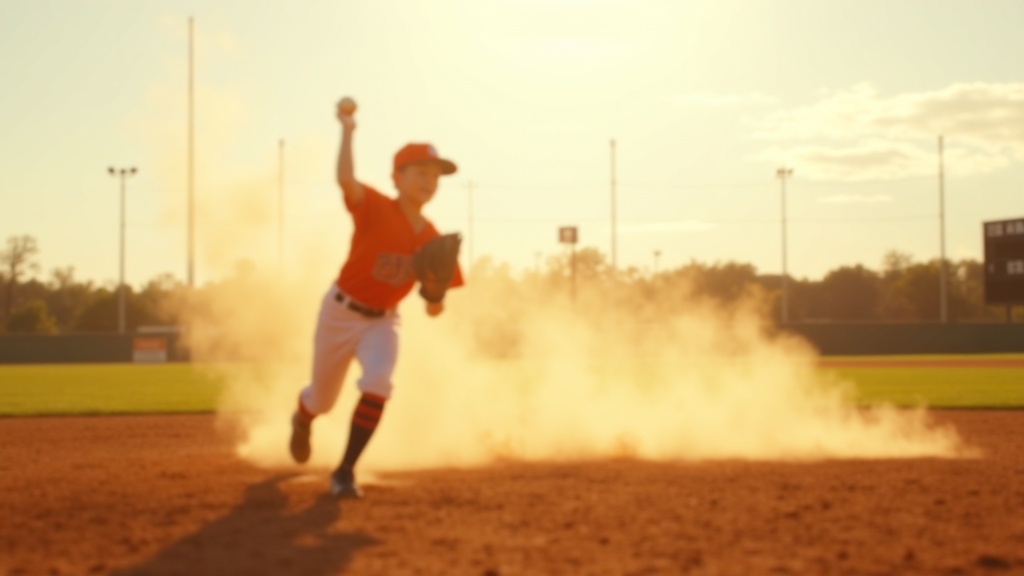
Teaching a proper baseball throwing motion comes down to four repeatable checkpoints: a balanced grip and glove-side setup, a controlled arm path that lets the elbow lead the hand, a strong hip-and-shoulder rotation, and a full follow-through that finishes toward the target. Break the throw into those pieces, work them slowly before adding speed, and repetition does the rest. It’s less about a single “correct” arm angle and more about building a sequence the body can repeat under pressure.
Every coach, parent, and former player seems to have their own cue for teaching a throw — “step and throw,” “show the ball,” “break the hands.” They’re not wrong, but a lot of that advice skips the order things should happen in. A throwing motion is a chain reaction: the lower half starts it, the trunk transfers it, and the arm finishes it. When kids skip straight to “arm speed,” they end up all elbow and no direction, which is where a lot of accuracy problems and arm fatigue start.
Start with the grip and the glove side
Before any wind-up matters, check two things: how the ball sits in the hand, and what the glove-side arm is doing. A young player doesn’t need a textbook four-seam grip to start — comfort and control matter more than seam orientation at first. The fingers should be relaxed on top of the ball, not squeezed into the palm, with a small gap underneath so the ball can roll off the fingertips instead of being pushed.
The glove side is the part most beginners ignore entirely, and it’s arguably as important as the throwing arm. A glove-side arm that reaches toward the target and then pulls in tight to the ribs helps the shoulders rotate on time. Without it, kids tend to fly open early, which drags the ball offline. If a player is still getting comfortable with their glove itself, it’s worth checking that they’re using a properly sized mitt — an oversized glove makes catch-and-transfer mechanics harder to learn, and our guide to choosing the right youth baseball glove size is a good starting point before you even get to throwing mechanics.

Teach the arm path in isolation first
One of the most useful teaching tools in baseball is also the simplest: playing catch from a knee or from a short, stationary distance. Removing the legs from the equation forces a player to feel the arm path without compensating with footwork. From this position, walk through:
- Ball out of the glove early — hands separate as soon as the throw begins, not at the last second.
- Elbow up near shoulder height — not locked or forced, just naturally elevated as the arm works back.
- Elbow leads, hand trails — the throwing hand should be “behind” the elbow as the arm comes forward, which is what creates a whip-like release rather than a push.
- Release out in front — the ball should leave the hand ahead of the shoulder, not even with or behind it.
This stationary work is where most of the “muscle memory” gets built. It’s tedious compared to full throws, but it’s also where bad habits get caught early instead of getting grooved in at full speed.
Bring in the lower half
Once the arm path looks clean from a knee, add the legs back in. The classic teaching sequence is:
- Stand sideways to the target, glove-side shoulder pointing at whoever they’re throwing to.
- Small step or weight shift toward the target with the front foot, landing with the toe roughly aimed at the target.
- Hips rotate first, shoulders follow a beat later — this is the separation that generates real power without extra arm strain.
- Follow through across the body, with the throwing hand finishing near the opposite hip or knee.
A useful cue for coaches: watch the front foot. If it lands closed off (pointing away from the target) or wide open too early, the hips and shoulders often rotate together instead of in sequence, which flattens out the throw and reduces both accuracy and arm speed.
Common mistakes worth watching for
- “Push” throws — the ball comes out of a stiff arm with little wrist snap, usually from rushing to full-speed throws before the arm path is grooved.
- Short-arming — the elbow never gets up to shoulder height, so the arm looks more like a shot-put motion than a whip.
- Falling away from the target — the body leans back at release instead of finishing forward, which kills both velocity and accuracy.
- No follow-through — stopping the arm right at release instead of letting it decelerate naturally across the body.
What Little League’s coaching materials teach
Little League International’s “Basics” program covers gripping and releasing the ball as the core of throwing (Little League: The Basics). Its four-seam toss drill has a partner toss the ball, the receiver catches it with two hands and moves into a four-seam grip, then tosses it back once the thrower shows a two-hand target, for 15 to 20 throws. The drill is meant to improve catching, the transfer to the throwing hand, the throwing grip and the consistency of the throw (Backyard Tip: Four-Seam Toss). This is guidance from the program, not a medical or biomechanical standard. For workload limits, see our pitch count guide.
Drills that reinforce good mechanics
| Drill | What it teaches | Good for |
|---|---|---|
| Knee-to-knee catch | Arm path, hand-behind-elbow sequencing | All ages, warm-ups |
| Step-behind or crow hop | Using the lower half to generate power | Older youth, building arm strength safely |
| Wall or fence drill | Follow-through and finishing toward target | Beginners learning finish position |
| Long toss (distance controlled by a coach) | Full extension and confidence in arm strength | Players with established mechanics |
Long toss gets a lot of attention online, and it can be a useful tool, but it works best once a player already has clean mechanics at short distance. Adding distance to a flawed motion just repeats the flaw at higher effort. It’s also an area where individual arm care and workload matter, which is a conversation better had with a certified coach or athletic trainer than settled by a generic drill list.
Coaching kids at different ages
A six-year-old and a thirteen-year-old need different levels of detail. For the youngest players, keep the language simple — “point your glove,” “show me your elbow,” “step and throw” — and don’t worry about hip rotation terminology at all. As players move up through Little League’s age divisions, mechanical cues can get more specific, and by the time a player is regularly playing catch at real distance and pitching or throwing from the infield, it’s worth having someone who coaches regularly take a look at the full motion rather than relying only on family or teammates for feedback.
This is also where the type of program a player is in matters. Rec-league and coach-pitch or machine-pitch settings tend to have more practice reps built in for throwing basics, while travel programs often assume mechanics are already established and focus more on game speed. If you’re weighing whether a more competitive path makes sense for your player, our breakdown of what travel baseball actually involves covers how that shift in expectations tends to play out.
Equipment plays a quieter role here too. A glove that’s broken in properly closes and transfers the ball more naturally, which affects how quickly a player gets the ball out of the glove during a throw — our guide on breaking in a new baseball glove is worth a look if a stiff mitt seems to be slowing down that transfer. For more on the gear side of youth development in general, the Youth & Travel Baseball section has additional guides on age brackets, tryouts, and program costs that tie into how throwing mechanics get taught along the way.
Patience is part of the technique
Good throwing mechanics rarely click in a single session. Most players cycle through the same checkpoints — grip, glove side, arm path, lower half, follow-through — dozens of times before it becomes automatic, and it’s normal for a motion to look clean in a drill and fall apart the moment a real throw with a real target is added. That’s not a sign something is wrong; it’s just how motor skills get built. Short, frequent sessions tend to beat one long mechanical overhaul, and celebrating accuracy and a clean finish early on will serve a young player better long-term than chasing arm speed before the pattern is solid.
Frequently asked questions about teaching a baseball throwing motion
What age should a kid start learning proper throwing mechanics?
Most coaches introduce basic throwing cues — grip, glove-side arm, stepping toward the target — as soon as a child starts playing catch regularly, often around the age they enter tee-ball or coach-pitch. Detailed mechanical work usually comes later.
How do I fix a child who throws “all arm” with no hip rotation?
Slow the motion down and isolate the lower half first — have them practice stepping toward a target and rotating the hips before adding a ball. Knee-to-knee catch drills and short-distance repetition also help the arm and body work in sequence rather than separately.
Why does my kid’s throw sail or tail off to one side?
This is usually a sign the front foot or shoulders are opening too early, or the release point is inconsistent. Working on landing the front foot pointed at the target and finishing the follow-through across the body often improves direction over time.
Should young players do long toss to build arm strength?
Long toss can be useful, but it works best once mechanics are already solid at short distances, since added distance tends to amplify existing flaws. Any structured throwing program for youth players is best discussed with a coach familiar with age-appropriate progressions.
Is it normal for a kid’s arm to hurt after practicing throwing?
Some fatigue after activity can be normal, but ongoing or sharp pain is not something to guess about at home. Any concerns about arm discomfort should go to a certified athletic trainer, coach, or medical professional rather than being managed through drills alone.
Baseball Place publishes general information for players, parents and coaches. This isn’t coaching, medical or safety advice, and pitch counts, training loads and return-to-play decisions vary by age and individual. For arm health, injury or conditioning questions, check current guidelines from USA Baseball or Little League International, or talk to a certified coach or athletic trainer.
Reviewed against primary sources on October 3, 2026. We added Little League’s own coaching guidance that day; the rest of the article is general coaching advice. Sources: Little League: The Basics · Little League: four-seam toss. Drafted with AI assistance; see our editorial policy.